


Choose the right Appliances, Components, and Utilities
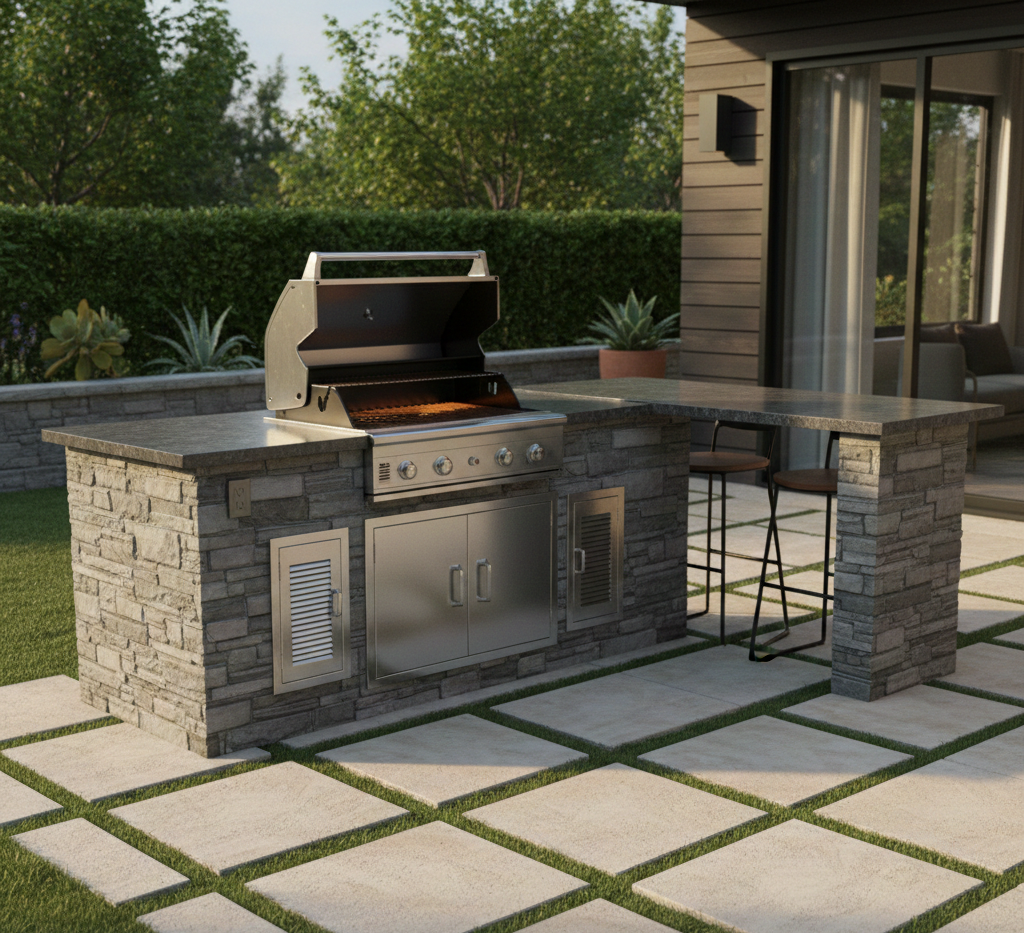
Planning an outdoor kitchen involves more than choosing a grill and picking a finish. The most successful outdoor kitchens are planned as systems: appliances, island structure, utilities, ventilation, and workflow all working together.
Backyard Patio Oasis supplies the grills, grill islands, storage components, and accessories used across all types of outdoor kitchen builds. This checklist is designed to help you confirm that nothing critical is overlooked before purchasing or installing equipment.

How to Use This Checklist
This checklist works best when used in order. Start with appliances, then confirm island components, utilities, and safety requirements before locking in a layout or budget.
If any item raises questions, pause and resolve it before moving forward. Fixing planning gaps on paper is always easier than fixing them after construction begins.
Appliance Checklist
- Primary grill selected (built-in or freestanding)
- Fuel type confirmed (natural gas or propane)
- Secondary appliances identified (side burner, power burner, pizza oven)
- Outdoor-rated refrigeration is selected if needed
- Appliance dimensions verified against island cutouts
Start with how you actually cook. A single, well-placed grill is more valuable than multiple appliances you rarely use. Browse core options in: Grills & Smokers.
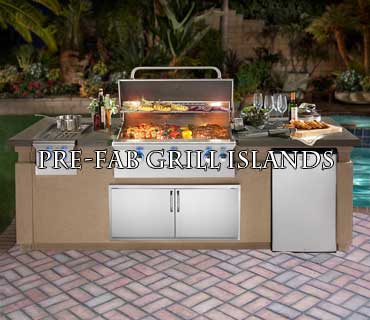
Island & Storage Components Checklist
- Island type selected (prefab, modular, or custom)
- Access doors included for gas and utility access
- Drawer storage planned for tools and utensils
- Trash or paper towel storage is considered
- Countertop material selected for outdoor use
Storage is not about having more space. It is about keeping the counter clear and the workflow efficient. Explore component options in: Outdoor Kitchen Storage.

Utilities Checklist (Gas, Electric, Water)
- Gas line size confirmed for appliance load
- Gas shutoff valve location planned
- Electrical outlets planned for refrigeration and lighting
- GFCI protection planned where required
- Water and drainage are planned if adding a sink
Utility routing is often the biggest source of surprise cost. Distance from the house and trenching complexity can matter more than appliance price.
Ventilation & Safety Checklist
- Clearance requirements confirmed for each appliance
- Island vents are planned for enclosed gas cavities
- Vent hood planned if the grill is under a solid roof
- Non-combustible materials used near heat zones
- Manufacturer installation manuals reviewed
Ventilation is a planning requirement, not an upgrade. Missing or misplaced vents can compromise safety and appliance performance.
Layout & Spacing Checklist
- Layout selected (straight, L-shaped, U-shaped, or galley)
- Clear walkway space is maintained around hot zones
- Grill lid swing clearance confirmed
- Prep counter located next to the grill
- Guest traffic is routed away from the cooking zone
Small layout adjustments often make the biggest difference in how comfortable the kitchen feels during real use.

Budget & Installation Readiness
- Budget range defined (budget, mid-range, premium)
- Island type aligned with budget expectations
- Installation responsibilities confirmed
- Delivery access and staging space planned
- Permits and inspections were researched if required
Cost control comes from clarity. The more decisions made before ordering, the fewer surprises appear during installation.
Common Planning Mistakes to Avoid
- Overbuilding the island and shrinking the entertainment area
- Ignoring ventilation and clearance requirements
- Forgetting service access for future maintenance
- Adding appliances without considering the workflow
- Underestimating utility installation complexity
Final Pre-Build Walkthrough

Before ordering equipment or starting installation, walk through the space physically. Stand where you will cook. Open an imaginary grill lid. Picture guests moving through the area.
If something feels tight or awkward during this walkthrough, adjust the plan now. Small changes on paper often prevent expensive changes later.
Key Takeaways
- Outdoor kitchens work best when planned as complete systems.
- Appliance selection should follow layout and utility planning.
- Ventilation and clearances are safety requirements, not optional features.
- Storage and prep space improve daily usability more than extra appliances.
- A checklist-driven approach prevents costly mistakes and rework.